Friday, November 20, 2009

Ellen's Workshop

Last weekend I did a workshop for a friend and today I wanted to share with you the projects that we made. First, Ellen has requested that we make some Christmas tags and a box to put them in. Everyone got to make 4 tags and one box. We used the Sparkly & Bright stamp set and Christmas Cocoa Designer Series Paper on these.


Here is the coordinating box:


Next, here is the Christmas we also made. We used the Big Shot and the new Petals-A-Plenty embossing folder to emboss on the front of the card. We also used the Champagne Mist Shimmer Paint to add some sparkle to our embossed image.


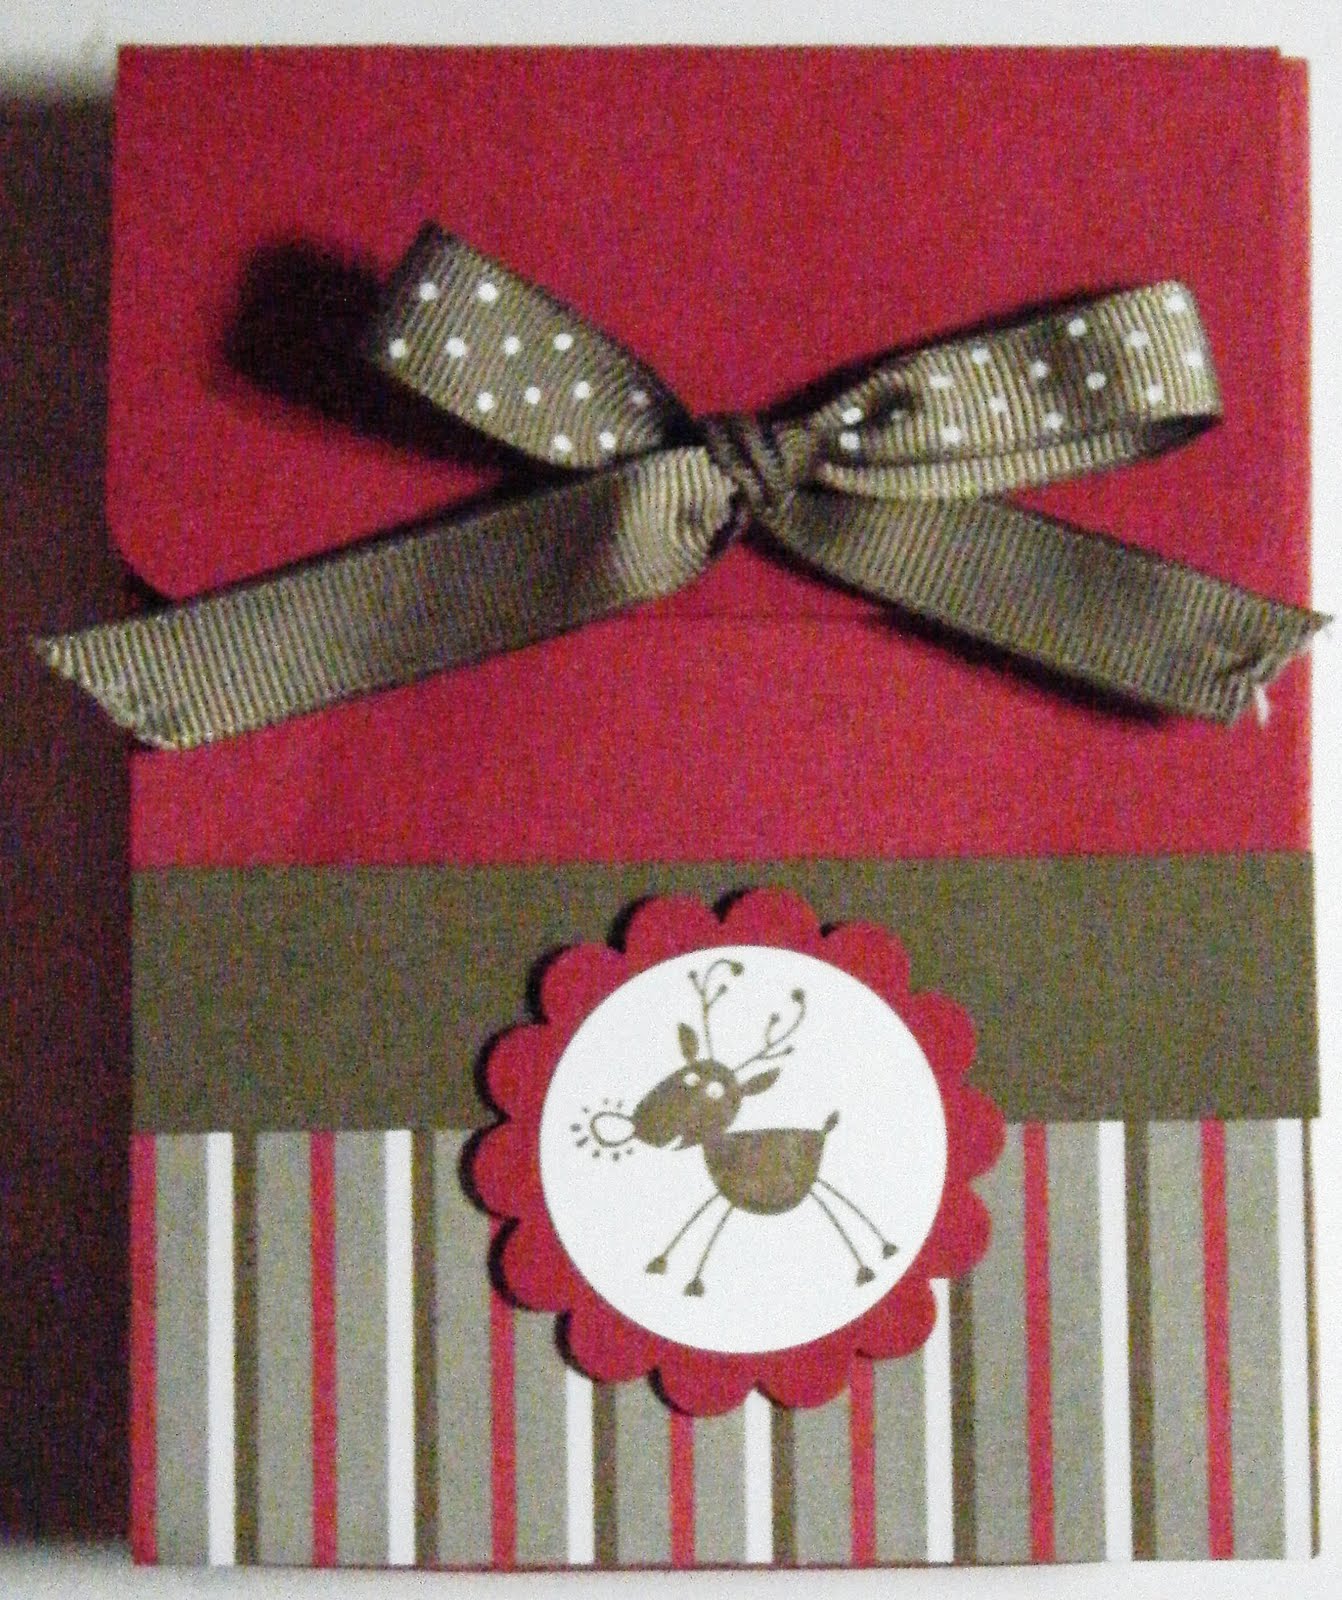
At last, but not least, what would a workshop be without a hostess gift. Here is the little gift I made using the Berry Christmas stamp set and the flocked paper from the Christmas Cocoa Designer Series paper pack.

Inside is a matchbox with 2 incentive stamps, a Post-It note on a little ring, and a matching pen.


Friday, November 13, 2009

Thanksgiving Frame

Remember the Halloween frame that I made using the Spooky Brocade Decor Element? Well, now that Halloween is over, I wanted to swap this picture for a Thanksgiving one. So I got the small Season of Thanks Decor Element in Chocolate Chip. This Decor Element actually comes with three sentiments (see below), however, since they would not all fit in my frame, I picked one and cut it out, along with the florish, to use for this project. To make this, I simply, rubbed the Decor Element onto a 8 x 10 sheet of the Autumn Traditions Designer Series Paper. Next, I added two more strips of Designer Series Paper from the same pack (different designs). On the bottom one I used my Scallop Edge punch and on the top one I use my cutter kit to distress the edge fo the paper. Next I chose 2 buttons out of my Fresh Favorites II button set , tied some linen thread through them, and adhered them with a glue dot. And there you have it! Super easy project!

Next, I simply slipped it into my frame and hung in on the wall!

This is a great way to use the seasonal Decor Elements, as they will only be displayed for a short period of time. By doing it this way, I will be able to display my project year after year!


To Order Stampin' Up! Products On-Line 24/7, CLICK HERE!


Thursday, November 12, 2009

Build-A-Bear Tin

Today I wanted to share with you a cool project me and my 4 year old daughter did together using the new Build-A-Bear dies for the Big Shot to create some magnetic paper doll bears. First I purchased this little tin off of the Stampin' Up! Clearance Rack for 99 cents to use as our magnetic service.

Next I got some adhesive magnet sheets which we adhered to the card stock and Pawsitively Prints Designer Series Paper that we wanted to use for the bears and the accessories. Next I ran everything through my Big Shot. The Big Shot cut right through the magnets like they were nothing! We made 2 bears and 2 outfits for each. First, here they are in their everyday outfits.

Next, here they are in their Halloween costumes. :)


My daughter loves this! And when she is done playing, all she has to do is put everything inside the tin and off she goes!


I just got the Beary Merry die which cuts Santa and Mrs. Claus outfits. So our next project will get to get these bears ready for Christmas!

Tuesday, November 10, 2009

November Technique Class

This past Sunday I held my November technique class. I did a Fall/Thanksgiving theme this month and had a full house! First, we made this super cute Thanksgiving card using the Gobble, Gobble stamp. This stamp is a singe stamp set from the under $10 page of the catalog. I got the idea for this card here, I just changed it up a little bit. For the technique, I showed the gals how to stamp with markers.


Ingredients:
  • Gobble, Gobble stamp set
  • Chocolate Chip, Taken with Teal, and Very Vanilla card stock
  • Autumn Splendor Designer Series Paper
  • Chocolate Chip, More Mustard, Really Rust, and Taken with Teal markers
  • Chocolate Chip Classic Ink
  • Word Window Punch
  • 1 3/4" Circle Punch
  • 5/16"Jumbo Brads
  • Stampin' Dimensionals

Next we did this Thanksgiving card using the Brayered Sky technique. I got the idea for this card here. In addition to the Brayered Sky, we also did a second technique by stamping on the twill tape to create our own custom ribbon.


Ingredients:
  • Autumn Days and Teeny Tiny Wishes stamp sets
  • Really Rust and Whisper White card stock
  • So Saffron, Crushed Curry, Really Rust, Old Olive, and Basic Brown Classic Ink
  • Twill Tape
  • Large Oval and Scallop Oval punches
  • Linen Thread
  • Post-It Notes
  • Brayer
  • Stampin' Dimensionals

This card is similar to the card I posted yesterday that we did at another workshop. I wanted to step up this card a notch for my technique class gals so instead of cutting the leave out of card stock, we cut it out of wood using the Wood Sheets. Then we used sponge daubers to sponge ink on the wood and create a realistic looking fall leaf. The leaf is clipped on to the card using a mini library clip.

Ingredients:
  • Wandering Words and Sanded stamp sets
  • Soft Suede and Very Vanilla Card Stock
  • Soft Suede Polka Dot ribbon
  • Mini Library Clips
  • Wood Sheets
  • Big Shot & Leaves #2 Die
  • Stampin' Dimensionals

And for our last card I demonstrated how to make acorns out of the new Ornament punch. I got the idea for this card from here.


Ingredients:

  • Holiday Best and Woodgrain stamp sets
  • Close to Cocoa, Chocolate Chip, Old Olive, and Kraft card stock
  • Autumn Traditions Designer Series Paper
  • Close to Cocoa ink
  • White Gel Pen
  • Ornament Punch
  • Scallop Edge Punch
  • Boho Blossoms Punch
  • Whisper White Taffeta Ribbon
  • Stampin' Dimensionals


To Order Stampin' Up! Products On-Line 24/7, CLICK HERE!


Monday, November 9, 2009

Wina's Workshop

A little over a week ago a friend of mine hosted a workshop. Today I wanted to share with you the projects we made. The hostess requested a fall/Thanksgiving card and a Christmas card.

First, here is the fall card. I got the idea for this card here and just changed it up a little bit. This card was super easy to make and everyone got to use the Big Shot, which is always fun.


Ingredients:

  • Wandering Words and Sanded stamp sets
  • Soft Suede, Very Vanilla, and More Mustard card stock
  • Soft Suede Ink
  • Soft Suede Polka Dot ribbon
  • Mini Library Clips
  • Big Shot & Leaves #2 Die
  • Stampin' Dimensionals

Next, here the Christmas card we did. I got the idea from this post here.

Ingredients:

  • Dasher and Teeny Tiny Wishes stamp sets
  • Chocolate Chip, Whisper White, and Kraft card stock
  • Christmas Cocoa Designer Series Paper
  • Chocolate Chip, Real Red, and Whisper White ink
  • Mistletoe Originals ribbon
  • Sponge Dauber
  • Stampin' Dimensionals

And of course, what workshop would be complete without a hostess gift? Here is the gift that I gave my hostess for having the workshop. I included a Stampin' Up! post-it pad, nail file, pen, and some incentive stamps.


To Order Stampin' Up! Products On-Line 24/7, CLICK HERE!


Friday, November 6, 2009

Swap Catch Up

My upline and BFF Merrigrace missed submitting her cards for our August and September demonstrator swaps. So, she got herself caught up this past month, so I have her cards to share with you. First, this is the card for our August swap. You can see the challenge and the rest of our cards here.


Next, here is her card for our September swap. You can see the challenge and the rest of our cards for this swap here.


Thursday, November 5, 2009

Cutest Pumpkin Ever!

Today I wanted to share this beauty with you. This little pumpkin was made for me by one of my Stampin' gals (thanks Sue!). She gave it to me at my last class. Isn't it stinkin' cute? To make it she simply punched out several pieces of Designer Paper with the Scallop Circle punch, folded them in half, and adhered them together. The stem is a rolled up pieces of designer paper, and a few more pieces for the leaves. How cute (and easy) is that! Wouldn't these be cute as little place settings for the Thanksgiving table? Love it!


To Order Stampin' Up! Products On-Line 24/7, CLICK HERE!


Wednesday, November 4, 2009

Happy Bday

Today I wanted to share with you another hybrid card I made using My Digital Studio. I needed a birthday card for my sister's boyfriend. Since masuline cards are so hard, I decided to see what I could come up with using My Digital studio. First I found one of the pre-designed birthday templates that I like. The template I picked had ribbon and a flower embelishment on it. Since I wanted this to be masuline, I got rid of the flower. And since I don't like digital ribbon, I got rid of that as well. So, this is what I was left with:


I printed this out on my home printer on Whisper White card stock. Next, I cut it out, but I cut it smaller that my card front because I wanted to layer it. I layered it over another piece of Whisper White cardstock and then added some real Certainly Celery grosgrain ribbon. Lastly I mounted to my Riding Hood Red card base with Stampin' Dimensionals. Here is the finished product:


To Order Stampin' Up! Products On-Line 24/7, CLICK HERE!


Tuesday, November 3, 2009

Hello Baby!

My friend and downline Lenore had a baby girl a little over a week ago. Here is the card I made and sent to her and her family. I was inspired by this card here. I hope she likes it and I can't wait to meet her new little bundle of joy! :)

Ingredients:
  • Build-a-Roo and Teeny Tiny Wishes stamp sets
  • Chocolate Chip, Creamy Caramel, Pretty in Pink, and Whisper White card stock
  • Basic Black, Chocolate Chip, Creamy Caramel, and Pretty in Pink ink
  • Pretty in Pink marker
  • Blender Pen
  • Pretty in Pink Taffeta Ribbon
  • Word Window and Modern Label punches
  • Soft Subtles brads


To Order Stampin' Up! Products On-Line 24/7, CLICK HERE!


Monday, November 2, 2009

Stampin' Up! Holiday Gift Giving Promotion

Promotion Period: November 1, 2009 - January 4, 2010

Make Stampin' Up! your one-stop shop for all your holiday gift-giving needs. With this Gift-Giving Guide (click to open) you can quickly and easily find gifts for kids, teens, neighbors, and more!

PLUS, for every $50 you spend on products in the Gift-Giving Guide, you can choose a FREE Décor Element (valued up to $16.95)!

Dont' forget that I offer gift certificates, too. You may want to help someone you love pick out just what they want!


To Order Stampin' Up! Products On-Line 24/7, CLICK HERE!