


Yesterday I held my monthly technique class. I had a full house again this month and we had a ton of fun! Today I wanted to share with you the projects that we made. For these first two projects I want to thank my up-upline Julie for the inspiration! She helped me out when I was stumped this month! If you notice a few of the projects on her blog resemble mine, it is because I CASEd her. :)
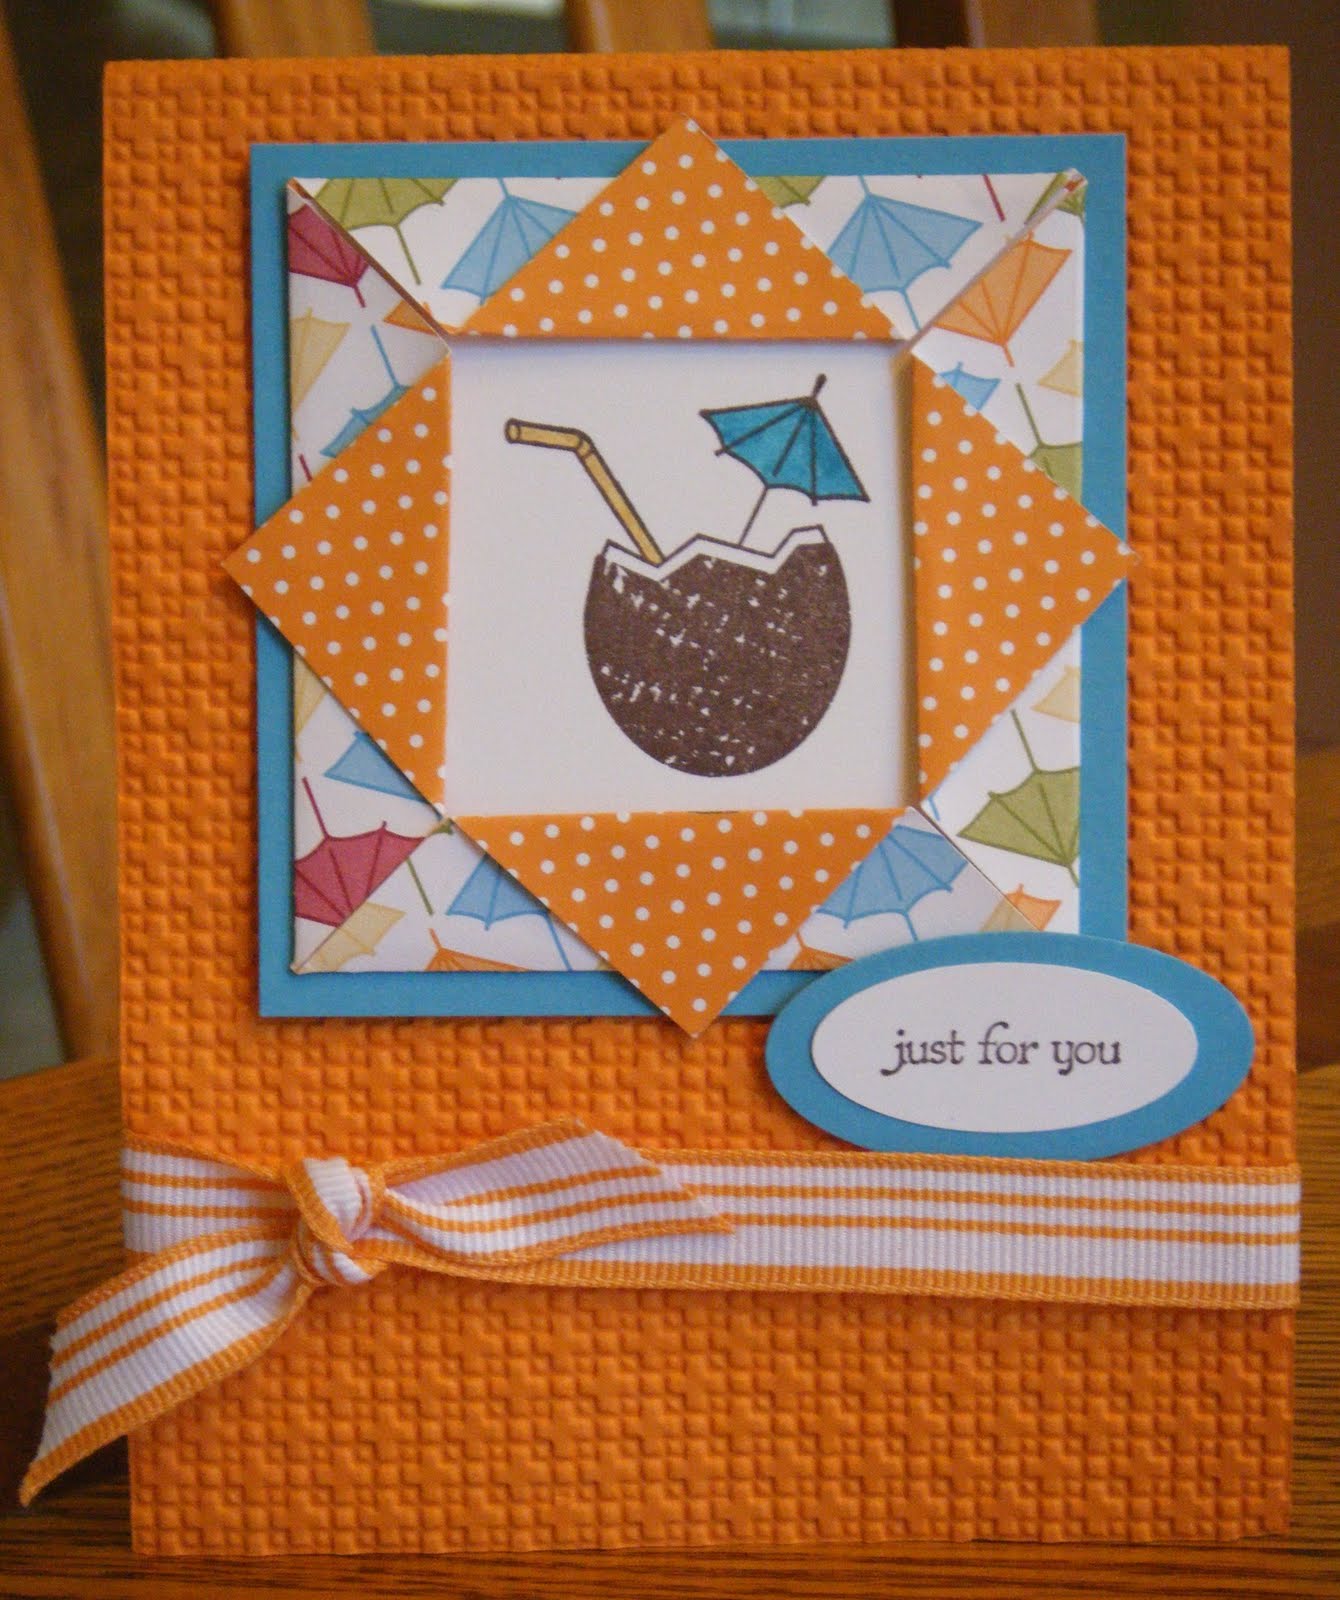
Here is the first card. For this card we used did the Folded Paper Frame technique. Everyone loved this technique since it is an awesome way to show off the double sided Designer Paper. I switched up Julie's design just a little bit and embossed the entire background using the new Lattice embossing folder.
 For this next card, I showed the gals how to watercolor using markers and an aquapainter to color in the bicycle image. We then added Crystal Effects to the bike to create a cool enamel finish and add some texture to the card. Again - I was inspired by Julie for this one, I just switched up the card stock color, designer paper, and ribbon based on what I had on hand.
  For these next two projects, I used layouts that I found in the new 2010-2011 Idea Book & Catalog as my inspiration. There are a ton of great of ideas in the new catalog! First, I demonstrated the new builder wheels for this card. We used the Itty Bitty Buttons and coordinating punches on this and then to jazz it up we spritzed with white Smooch Spritz.
  And last, but not least, I wanted to do something for the 4th of July, and since the 4th of July is not really a card giving holiday, I decided to do a scrapbook page instead. I figured that everyone takes pictures on the fourth, so now they will have page ready for all those photos! The layout for the page was also inspired by a layout in the new catalog and is 8" x 8". For this we used the July 4th stamp set and the Red, White, and Blue jumbo wheel from the Summer Mini Catalog. We created the background in a snap by using one of the larger clear blocks and putting several of the different images on the block and were able to stamp the whole thing at once! Here is how the 8" x 8" page turned out.
 Since everyone likes to scrapbook different sizes of pages, I choose to do 8" x 8" because it can either be left as is, or it can easily be mounted to an 8 1/2" x 11" sheet of card stock, or a 12" x 12" piece of card stock, depending on what people prefer. I, myself, like to do 12" x 12", so here is my page after I added some pictures from the 4th of July last year and then mounted it on 12" x 12" piece of card stock. I also added a piece of Whisper White card stock as a layer and stamped the same background on the Real Red base card stock.
 So, all-in-all it was a great class this month! Looking forward to next month! Hope you can join us! :)


Hi Jennifer! I liked your class projects :) I liked your changes too - the impressions background is cute! Glad we could share ideas!
ReplyDelete